Concrete Repair Spurs
Concrete Repair Spurs
Sheridan fencing - Dave Relf
Introduction:
When it comes to fencing, wear and tear are inevitable. Rot, damage, and the test of time can take a toll on fence posts. In such instances, the unsung hero of fencing restoration emerges – the Concrete Repair Spur. In this blog post, we'll delve into the versatility and benefits of Concrete Repair Spurs, exploring how they can breathe new life into your fencing, offering a sturdy solution without compromising the aesthetic harmony of your outdoor space.
1.The Role of Concrete Repair Spurs:
Concrete Repair Spurs play a pivotal role in the restoration of broken or rotted fence posts. Beyond that, they serve as reliable support for bolting posts or timber frameworks above ground level. This makes them a versatile and invaluable tool in the arsenal of fence repair and maintenance.
2. Construction and Installation:
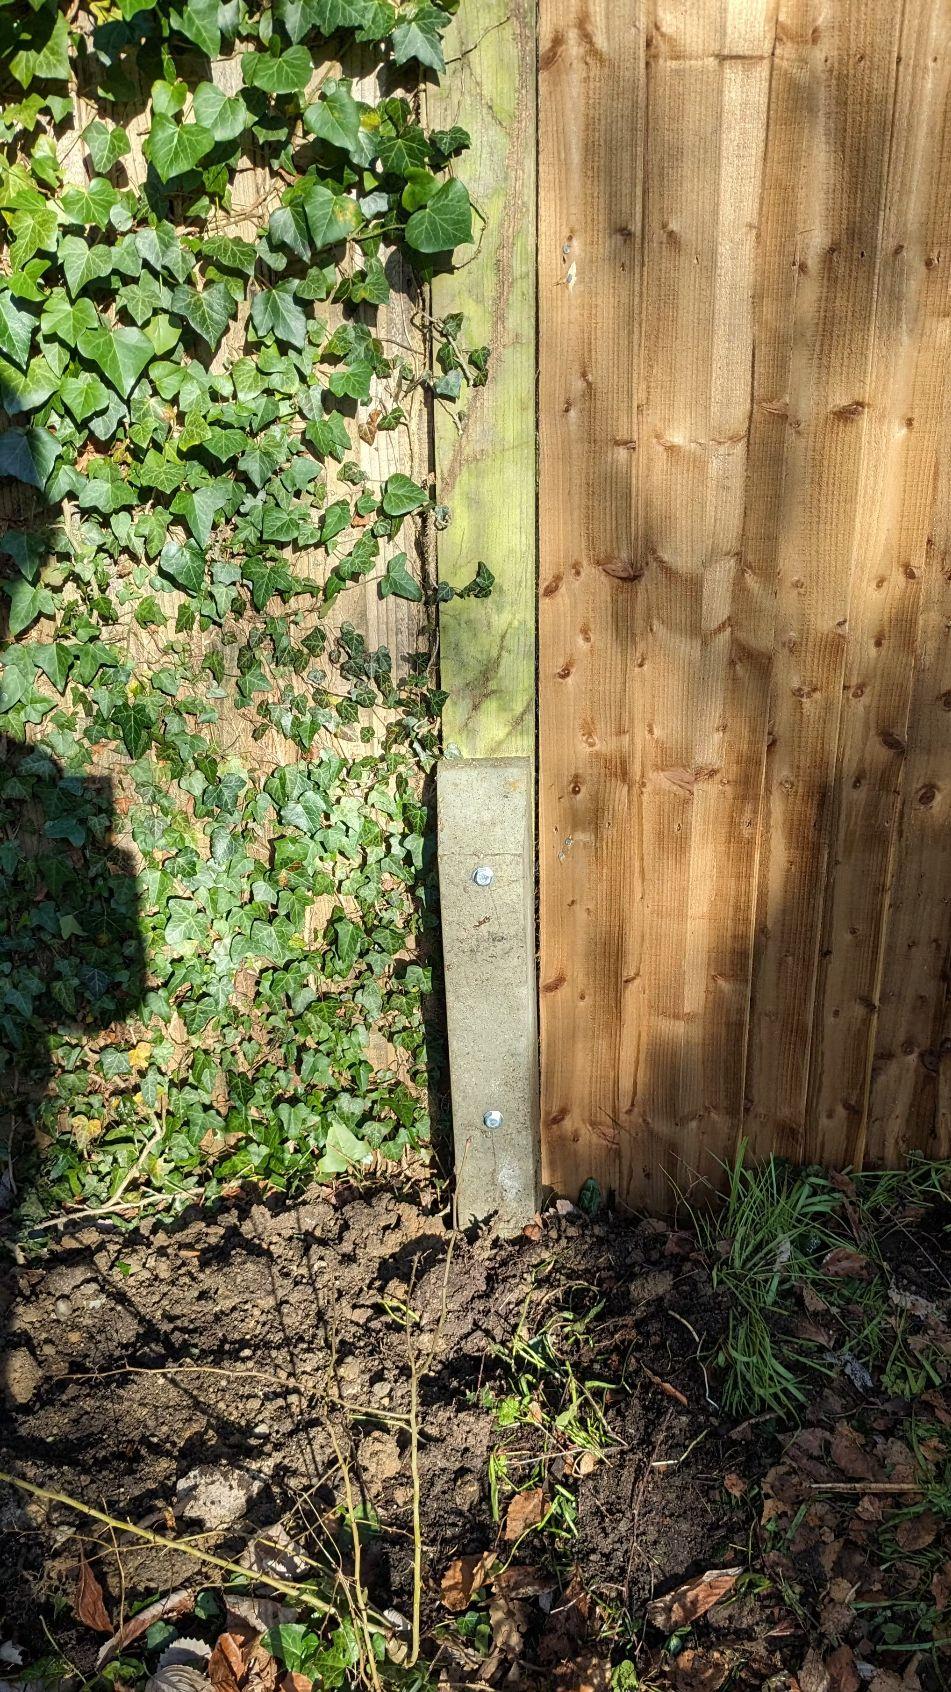
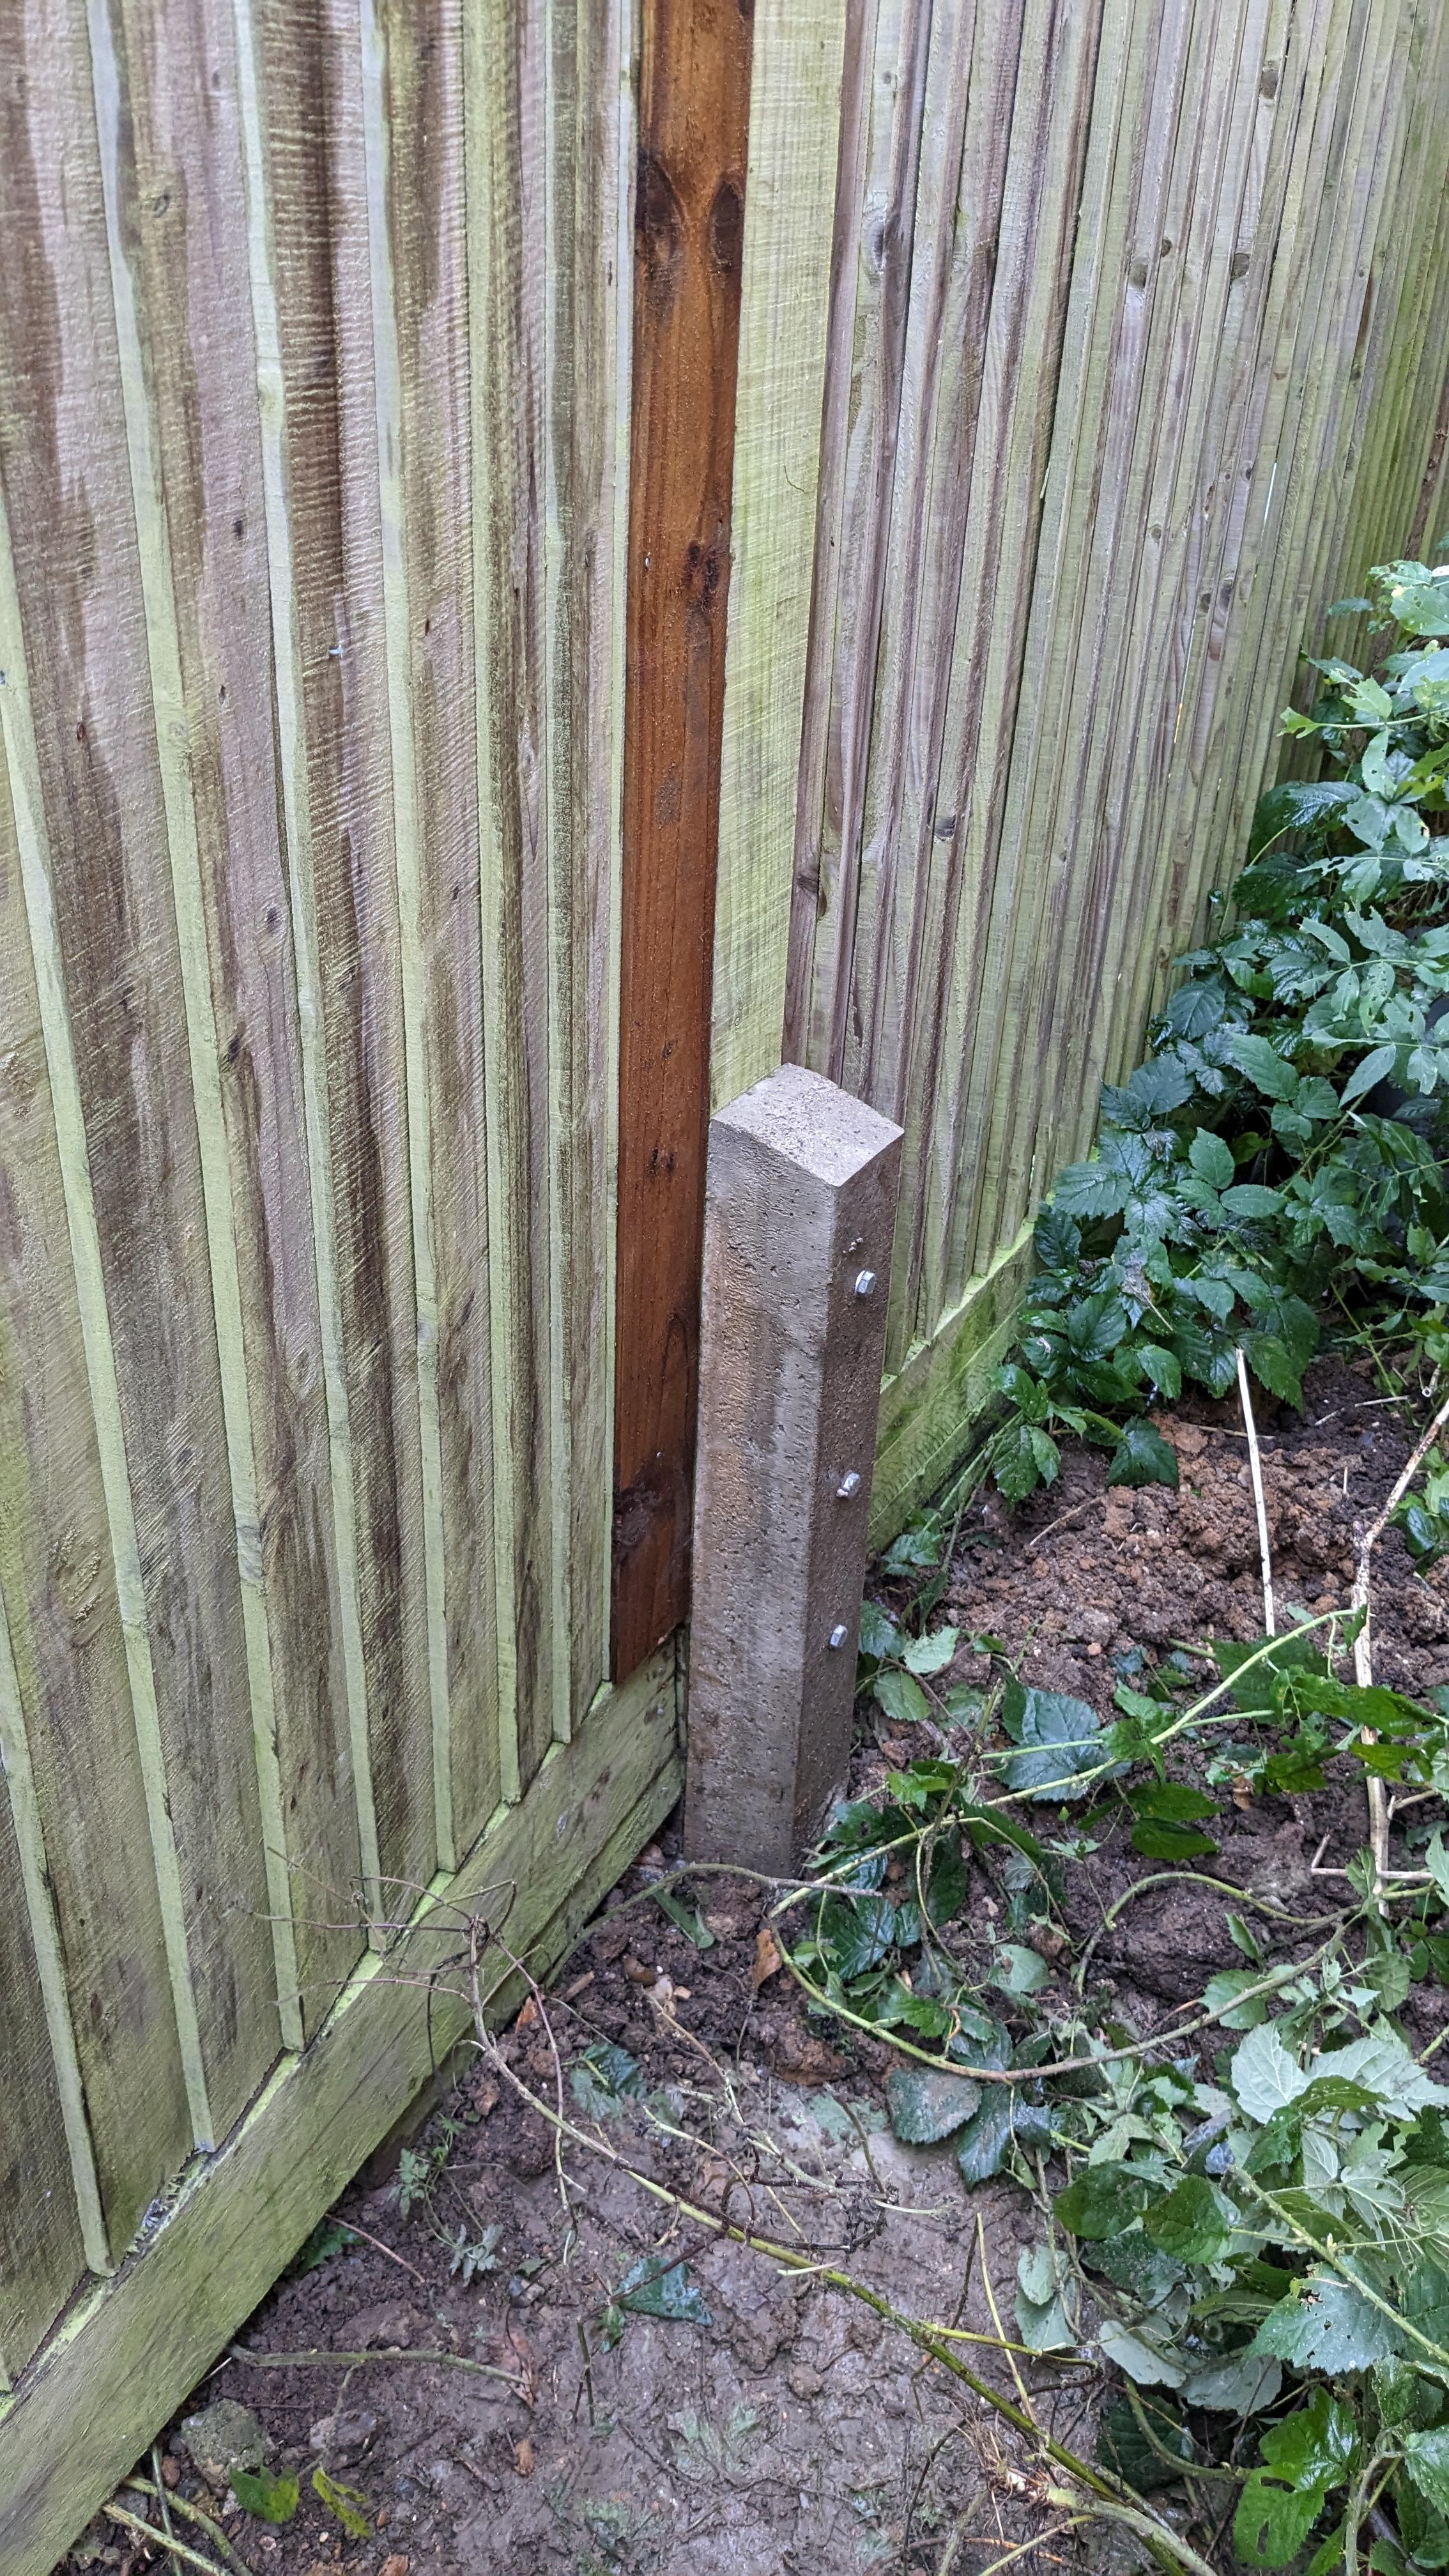
A unique feature of Concrete Repair Spurs lies in their half-in, half-out construction. Half of the spur is firmly embedded into the ground and anchored with concrete, providing a stable foundation. The other half extends above ground level, creating a solid surface for attaching broken posts or timber structures. This innovative design ensures durability and longevity, standing resilient against the elements.
3. Sizing Options:
Concrete Repair Spurs are available in practical sizes, typically 3x3 or 4x4. This makes them an ideal choice for fencing repair, offering substantial support without overwhelming the visual appeal of your outdoor space. The compact sizing ensures a seamless integration into your existing fencing structure.
4. Preserving Your Garden's Beauty:
One of the key advantages of Concrete Repair Spurs is their minimal impact on surrounding greenery. The half-above-ground design eliminates the risk of damage to climbing plants or delicate vegetation. This thoughtful construction allows you to restore your fence without compromising the natural beauty of your garden.
5. Ideal for Fencing Repair without Disruption:
Concrete Repair Spurs prove to be an efficient and non-disruptive solution for fencing repair. Whether your goal is to mend broken posts or reinforce timber structures, these spurs offer a streamlined approach, allowing you to revitalize your fencing without the need for extensive and intrusive repair work.
Conclusion:
In the realm of fence restoration, Concrete Repair Spurs emerge as a practical and aesthetically considerate solution. Their versatile design, sizing options, and minimal impact on surrounding vegetation make them a go-to choice for homeowners looking to preserve the charm of their outdoor spaces while ensuring the longevity of their fencing.
Concrete spurs are known for their durability, with a typical lifespan of around 25 years. When it comes to concreting repair spurs into the ground, it's advisable to bury the posts at a minimum depth of 2 feet for optimal stability and support.
Understanding Fence Spurs:
A fence spur serves the crucial role of supporting fence panels, either by bracing them or repairing an existing fence structure. Specifically, Concrete Repair Spurs are utilized to address issues with timber fence posts that have experienced rotting at their base. These spurs offer a practical solution, providing additional support and stability to the fence, ensuring its longevity and structural integrity.
In essence, a fence spur acts as a reinforcement mechanism, particularly valuable in situations where traditional fence posts may have weakened due to rot or other forms of deterioration. The use of Concrete Repair Spurs becomes an effective measure to extend the life of the fence and maintain its functionality, offering a reliable solution for supporting and repairing timber fence posts.
Step-by-Step Guide: Installing a Concrete Spur Around a Wooden Post
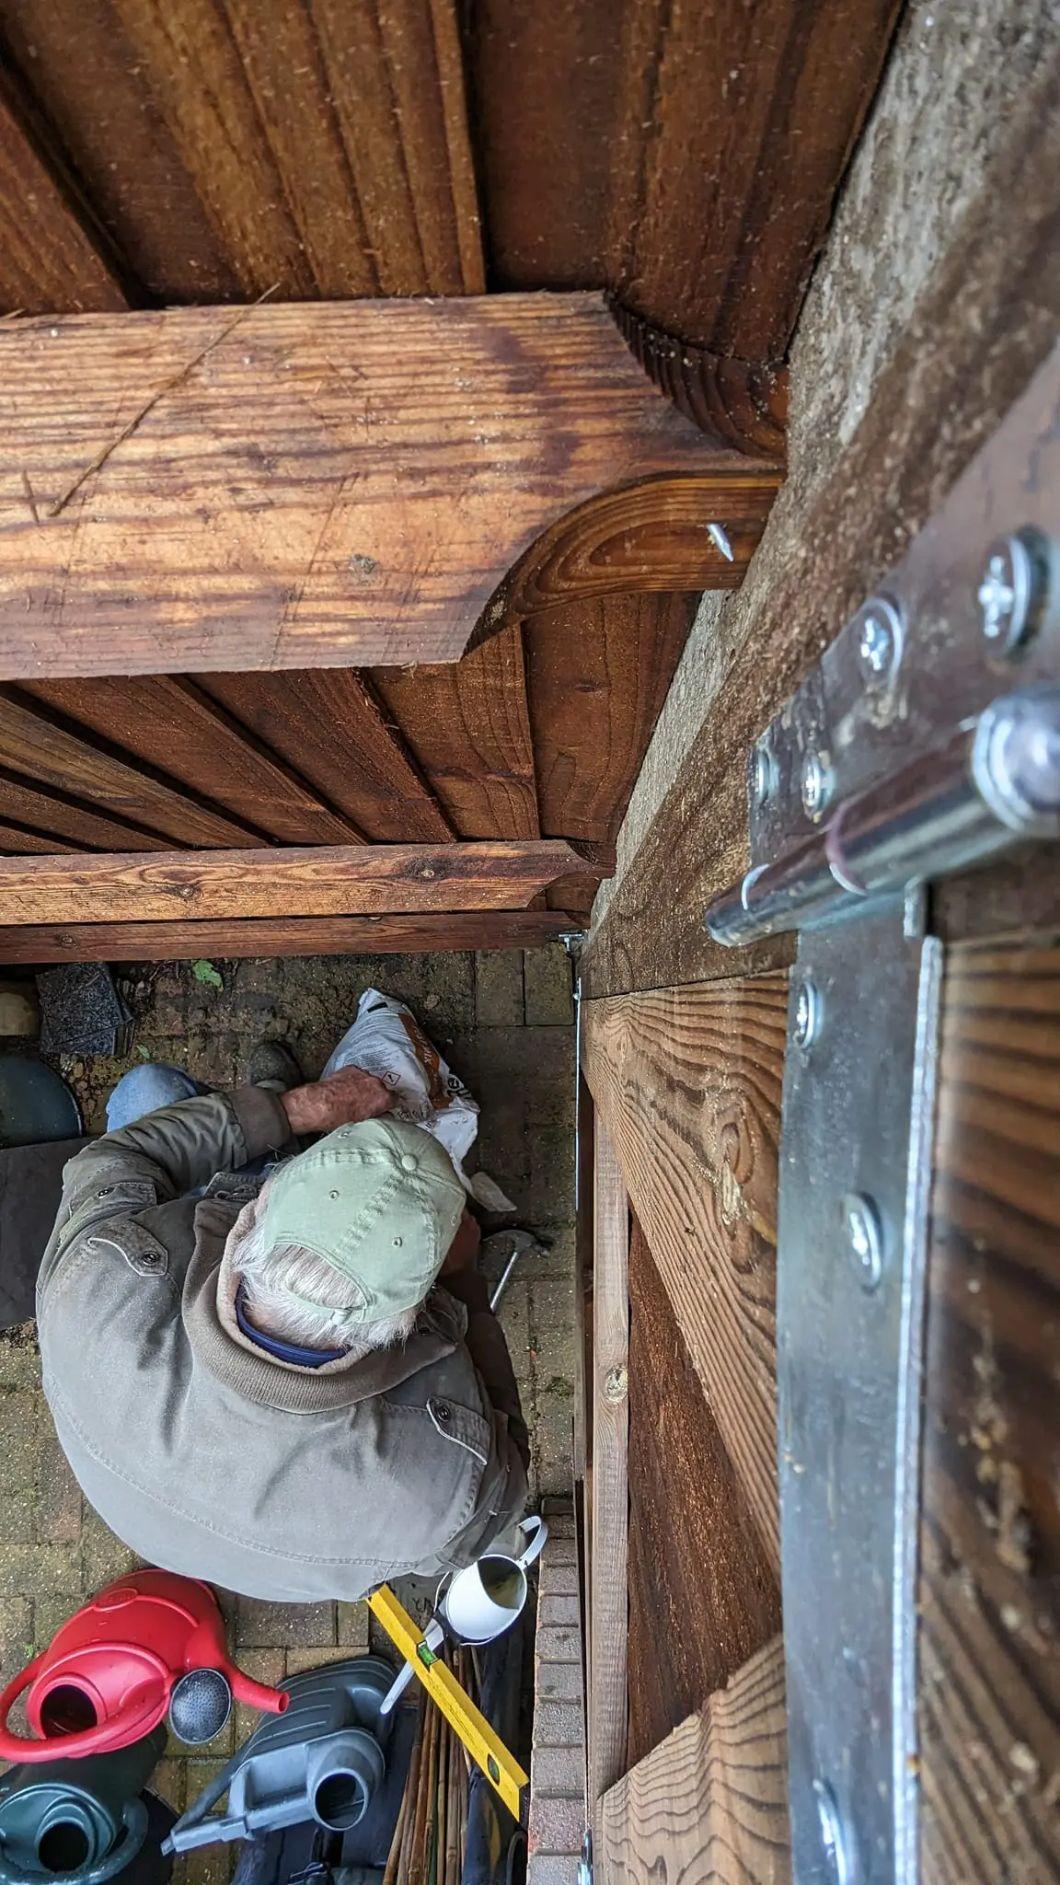
Today's work in Cliff Wood (April 2024) showcased our team's expertise in installing nine concrete spurs, leaving the customer amazed. Here's our technique:
First, we carefully dug around one side of the wooden post, exposing the concrete to a depth of at least 15 inches. With the concrete exposed, we used a fencing bar (you can check out the tool blog post for details) to carefully attack the concrete with precise up-and-down slams, focusing on the two corners of the post. It's important to keep the bar's edge at a diagonal to these corners to target weak spots effectively.
By employing this method, we're able to identify and exploit weak areas in the concrete, allowing us to break away a section easily. This facilitates the installation of the new concrete spur without compromising the integrity of the post. It's a technique that combines precision and strength to achieve optimal results. It's no wonder our customer was impressed!
Here's a step-by-step guide:
Preparation: Begin by preparing the area around the wooden post where you'll be installing the concrete spur. Ensure you have all necessary tools and safety equipment.
Digging: Use a shovel or post hole digger to dig around one side of the wooden post. Dig to a depth of at least 15 inches, exposing the concrete base.
Exposing the Concrete: Once you've dug deep enough, you'll expose the concrete surrounding the wooden post.
Using the Fencing Bar: Take a fencing bar (a heavy-duty steel bar typically used in construction or fencing work) and position it against the exposed concrete.
Attacking the Concrete: With the fencing bar, deliver precise up-and-down slams to the concrete, focusing on the two corners of the wooden post where it meets the concrete base. Angle the bar's edge diagonally to effectively target weak spots in the concrete.
Breaking Away Concrete: As you attack the concrete with the fencing bar, you'll begin to identify weak spots where the concrete starts to break away. Continue this process until you've sufficiently loosened a section of the concrete around the post.
Installing the New Concrete Spur: With a section of the old concrete removed, you'll have a clean surface for installing the new concrete spur. Follow the manufacturer's instructions for mixing and pouring the concrete to secure the post in place.
Finishing: Once the new concrete spur is in place and has set according to the manufacturer's guidelines, fill in any gaps or spaces around the base of the post with additional concrete or soil.
Cleanup: Finally, clean up any debris or excess concrete from the work area to ensure a neat finish.